How Do You Wallpaper A Chicken Coop? A DIY Guide
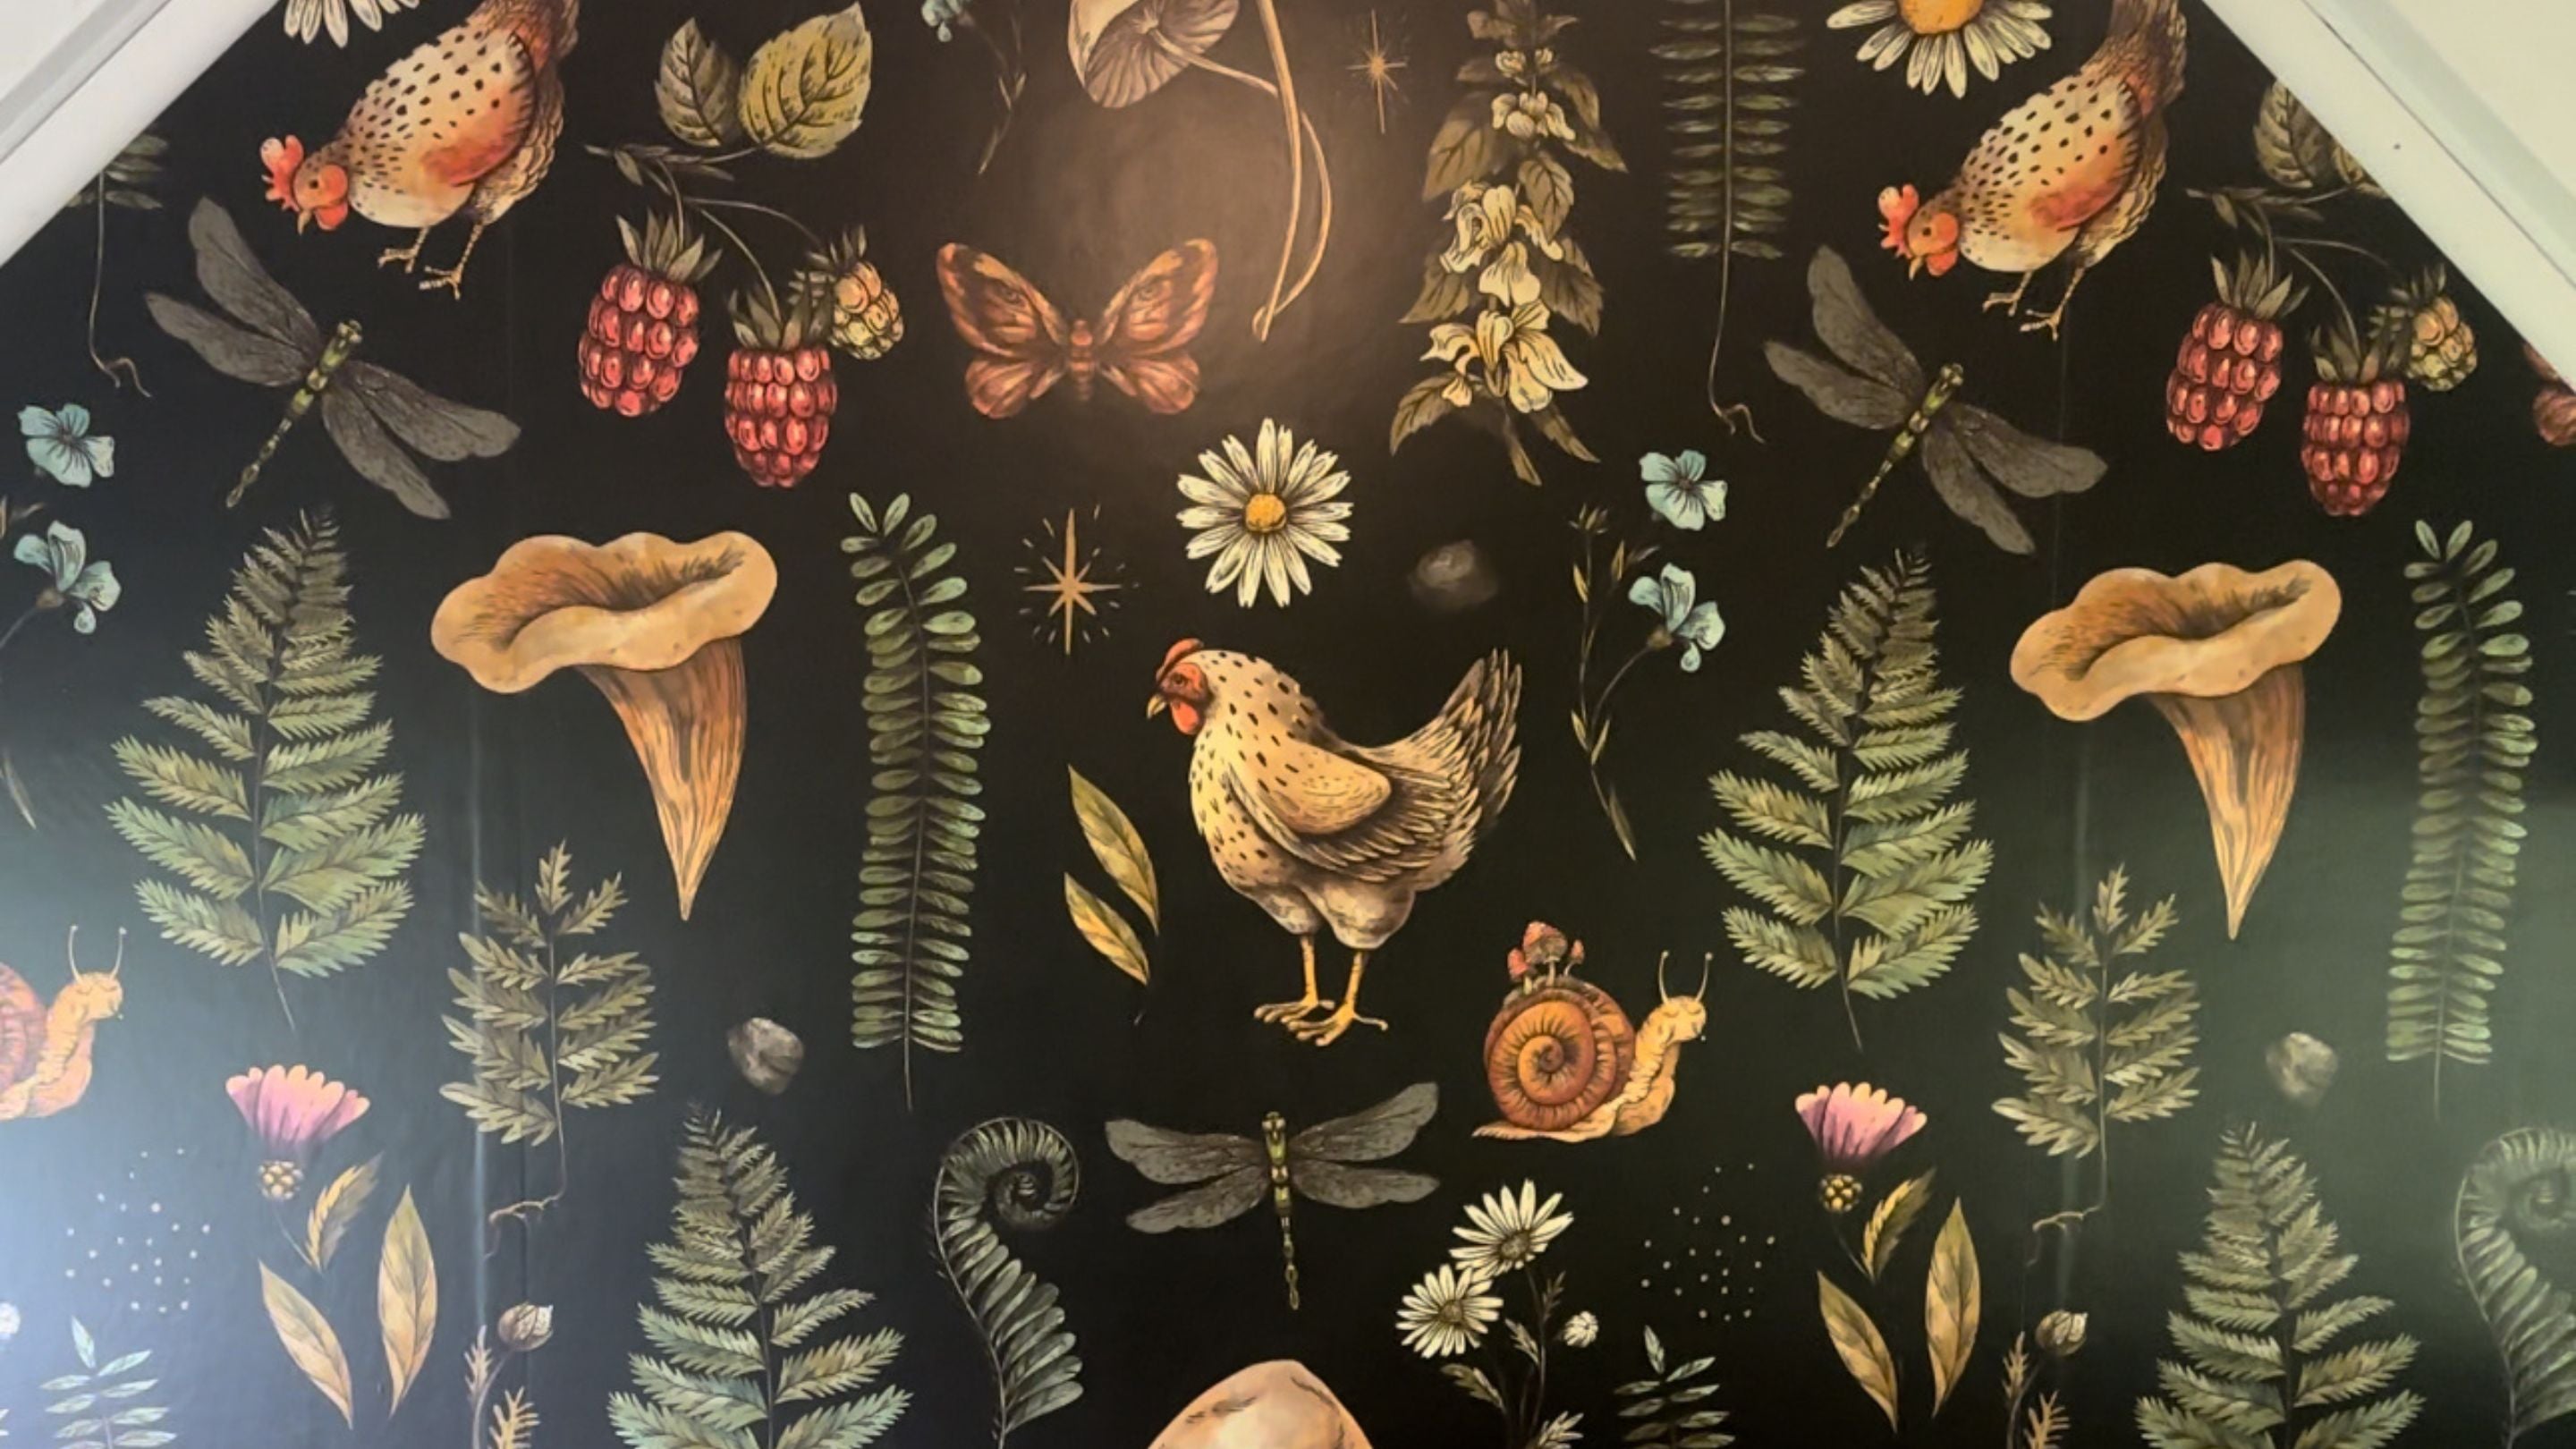
I worked with the artist, Depiano, to create this wallpaper for my coop!
{check out the Chicken & Mushroom wallpaper on Spoonflower HERE}
Adding wallpaper to your chicken coop is a unique way to add character to your space and give your feathered friends a chic, comfortable environment. Whether you're aiming for a rustic charm, a modern feel or something more whimsical like ours, this guide will help you through the process step-by-step, ensuring that your chicken coop wallpaper lasts for years to come.
View a quick installation video here!

Why Wallpaper Your Chicken Coop?
Wallpaper isn’t just for human ; it can add a touch of personality to a chicken coop as well. It’s an excellent way to make cleaning easier while adding a slice of your personality. Plus, it’s a fun weekend project that can breathe new life into an old coop or be the finishing touch on a new one.
Choosing the Right Materials
To get started, selecting the right materials is important for both the longevity of the wallpaper and the safety of your chickens. Here’s what you’ll need:
-
High-Quality Wallpaper: Opt for durable, high-quality wallpaper from trusted brands like Spoonflower, which offers a variety of patterns to match any esthetic.
I worked with an amazing artist to customize this chicken & mushroom wallpaper print. You can get yours HERE! - Cleaning Solution: A homemade spray cleaner (1:1:1 ratio of vinegar, alcohol, and water) works great for prepping the walls.
- Mod Podge Outdoor Glue (16oz): This acrylic-based glue is perfect for outdoor use and will help the wallpaper adhere to the coop walls without peeling.
- Tools for Application: A sponge brush and foam roller will ensure a smooth application without bubbles or wrinkles.
- Polyurethane: This is used to seal the wallpaper, protecting it from the elements and making it easier to wipe down and clean.
- Optional: If your coop walls are not smooth, consider using a smooth board cutout as a backing for the wallpaper. Liquid nails will help attach this board to the coop walls securely.
*Mod Podge + Wallpaper not included
Preparing Your Space
The first step in your wallpapering project is to prepare the coop. Clean the walls thoroughly with the spray cleaner to remove any dirt, cobwebs, or residues. This step is vital as it ensures the glue adheres properly. Allow the walls to dry completely.
Measuring and Cutting
Measure the height and width of the coop walls to determine how much wallpaper you will need. It’s a good idea to buy a little extra to account for any mistakes or mis-measurements. Cut the wallpaper into sections according to your measurements, remembering to match the patterns at the seams for a seamless look.
The Application Process
- Mark the Middle: Identify and mark the center of your wall and the center of your wallpaper piece. This will help in aligning the wallpaper correctly.
- Draw Guidelines: Use a light pencil to draw guidelines on the wall. These should follow the edge of your first piece of wallpaper, ensuring it hangs straight.
- Apply the Glue: Use the sponge brush to apply a thin, even layer of Mod Podge Outdoor glue over the area where the first piece will go. Avoid using too much glue to prevent the wallpaper from bubbling.
- Position the Wallpaper: Carefully peel the backing off and position the wallpaper on the glued area. Press it into place starting from the top and smoothing downward to avoid air pockets.
- Smooth Out Bubbles: Use the roller or a flat tool to press the wallpaper against the wall, smoothing out any bubbles. If any bubbles remain, you can use a pin to puncture them and smooth the area again.
- Repeat: Continue with the next pieces, ensuring the edges meet and the patterns align. Overlap slightly at the edges to prevent gaps.
Drying and Sealing
Once all pieces are applied, allow the wallpaper to dry for at least 24 hours. After drying, apply two coats of polyurethane, following the manufacturer's instructions for drying time between coats. This sealing layer is crucial as it protects the wallpaper from moisture and makes it durable.
Optional: Installing a Template Board
If you chose to use a template board for an uneven wall:
- Ensure the board is precisely cut to fit the wall.
- Apply liquid nails to the back of the board and press it firmly against the wall.
- Maintain pressure to ensure strong adhesion.
- Once secure, you can apply the wallpaper directly to the smooth surface of the board.
Maintenance and Care
To keep your wallpapered chicken coop clean, regular maintenance is essential. Clean the walls with a damp cloth occasionally, and check for any signs of peeling or damage. A well-maintained wallpapered coop can last several years, providing a vibrant and clean environment for your chickens.
Wallpapering your chicken coop is a creative way to add charm and personality to your backyard. It not only enhances the aesthetic appeal but also provides a cleanable surface that helps maintain the coop. With the right materials and a bit of elbow grease, you can transform your chicken coop into a stylish, functional habitat that both you and your chickens will love.
Happy DIY-ing! Don't forget to share your progress and final results with us @bee.jeweled.coop on Instagram!
Click here for a quick video tutorial on wallpapering your chicken coop!