
The Ultimate Setup Guide for Your Baby Chicks
Congratulations on your journey of raising baby chicks! Whether you're a first-time chicken keeper or expanding your flock, there's something magical about bringing home those fluffy little peepers. At Bee Jeweled Coop, we believe that starting your chicks off right sets the foundation for healthy, happy hens that will reward you with fresh eggs and delightful personalities for years to come.
Before Your Chicks Arrive: Preparation is Key

Coop First, THEN Chicks!
I will shout this from the rooftops: make sure to buy or build your coop BEFORE getting your chicks! Nothing is more stressful than watching your chicks grow knowing you do not have a proper setup for them. These babies will be coop ready in just 8 weeks!
Timing Your Chick Purchase
The best time to bring home baby chicks is during spring or early summer when temperatures are warming up. You will want to make sure the temperature outside does not fall below 50 degrees when transitioning to their coop.
Tip: Order chicks from a reputable hatchery or breeder 2-3 months in advance to ensure availability of your preferred breeds.
Essential Supplies Checklist
Before those fluffy babies arrive, gather these necessities:
Brooder: Crafting The Perfect Nest

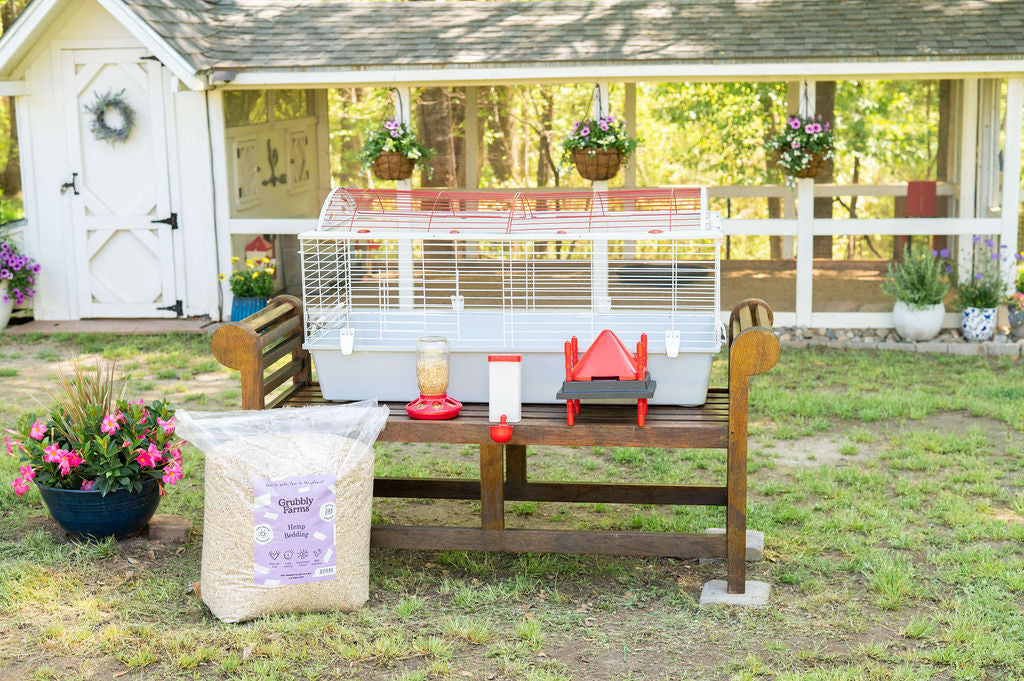
A brooder serves as a safe, controlled environment for baby chicks, offering warmth and protection in their first 6-8 weeks of life. I've used a few brooders for raising chicks and I've always come back to this small animal cage from Living World. This cage perfect for 4 chicks or less and has a side door for interacting with the chicks.
This side door feature makes your interactions with the chicks less scary for them. Chickens are naturally afraid of 'things' grabbing them from above (think hawks!) so it's always best to handle them from the side.
We have also tried out this tent brooder from My Pet Chicken. This is a good option for 5+ chicks. It has a removable top and a side door as well.
I've also heard great things about The Big Red Barn from Rent-A-Coop. I haven't had a chance to test it yet but the breeder I purchased my chicks from this year uses two of the large cages for her chicks.
Bedding Options: Why Hemp Bedding is Our Top Choice

For the brooder's substrate, I only use hemp bedding. It's absorbency is second to none and it's low dust, which is healthier for your chicks. This hemp bedding from Grubbly Farms is my top choice.
Why We Love Hemp Bedding:
- Superior Absorbency: Hemp can absorb up to 4x its weight in moisture, keeping chicks drier and healthier
- Exceptional Odor Control: Naturally antimicrobial properties help eliminate ammonia buildup
- Virtually Dust-Free: Drastically reduces respiratory issues compared to pine or paper bedding
- Longer Lasting: Needs changing less frequently, saving you time and money
- Biodegradable: After use, it makes excellent compost for your garden
- Sustainable Choice: Hemp grows quickly with minimal environmental impact
Heat Sources: Keeping Your Chicks Comfortable

Heating Plate From Rent-A-Coop
- Mimics a mother hen's warmth from above
- Adjustable height grows with your chicks
- More energy-efficient and safer than heat lamps
- Initial cost higher ($99) but worth the investment
Feeder and Waterer: The Essentials

Next, we need some feeders and waterers for our setup! I've found that this feeder and waterer are perfect for any setup. If using the small animal cage, I can use hanging straps for the feeder to adjust the height as my chicks grow, keeping their food clean and accessible.
Our Recommended Feeder Setup:
- Start with a chick-sized feeder to prevent waste
- Adjust feeder height to match the chicks' back height as they grow
- Use hanging straps for easy height adjustment
- Clean feeders weekly or whenever they become soiled
- Consider multiple feeding stations for larger broods
Waterer Tips:
- We love this waterer from Rent-A-Coop
- Always provide clean, room-temperature water
- Position waterers away from heat sources
- Change water daily to prevent contamination
- Add chick electrolytes to water for the first 3-5 days
- When first putting the chicks in the brooder, gently dip each chick's beak in water to teach them to drink
Pro Tip: Place waterers on a small platform or use a waterer base to reduce bedding contamination. This keeps water cleaner longer and reduces the frequency of bedding changes.
Start Them Right: Nutritious Feed

Feed Fundamentals: Why We Choose Scratch & Peck Feeds
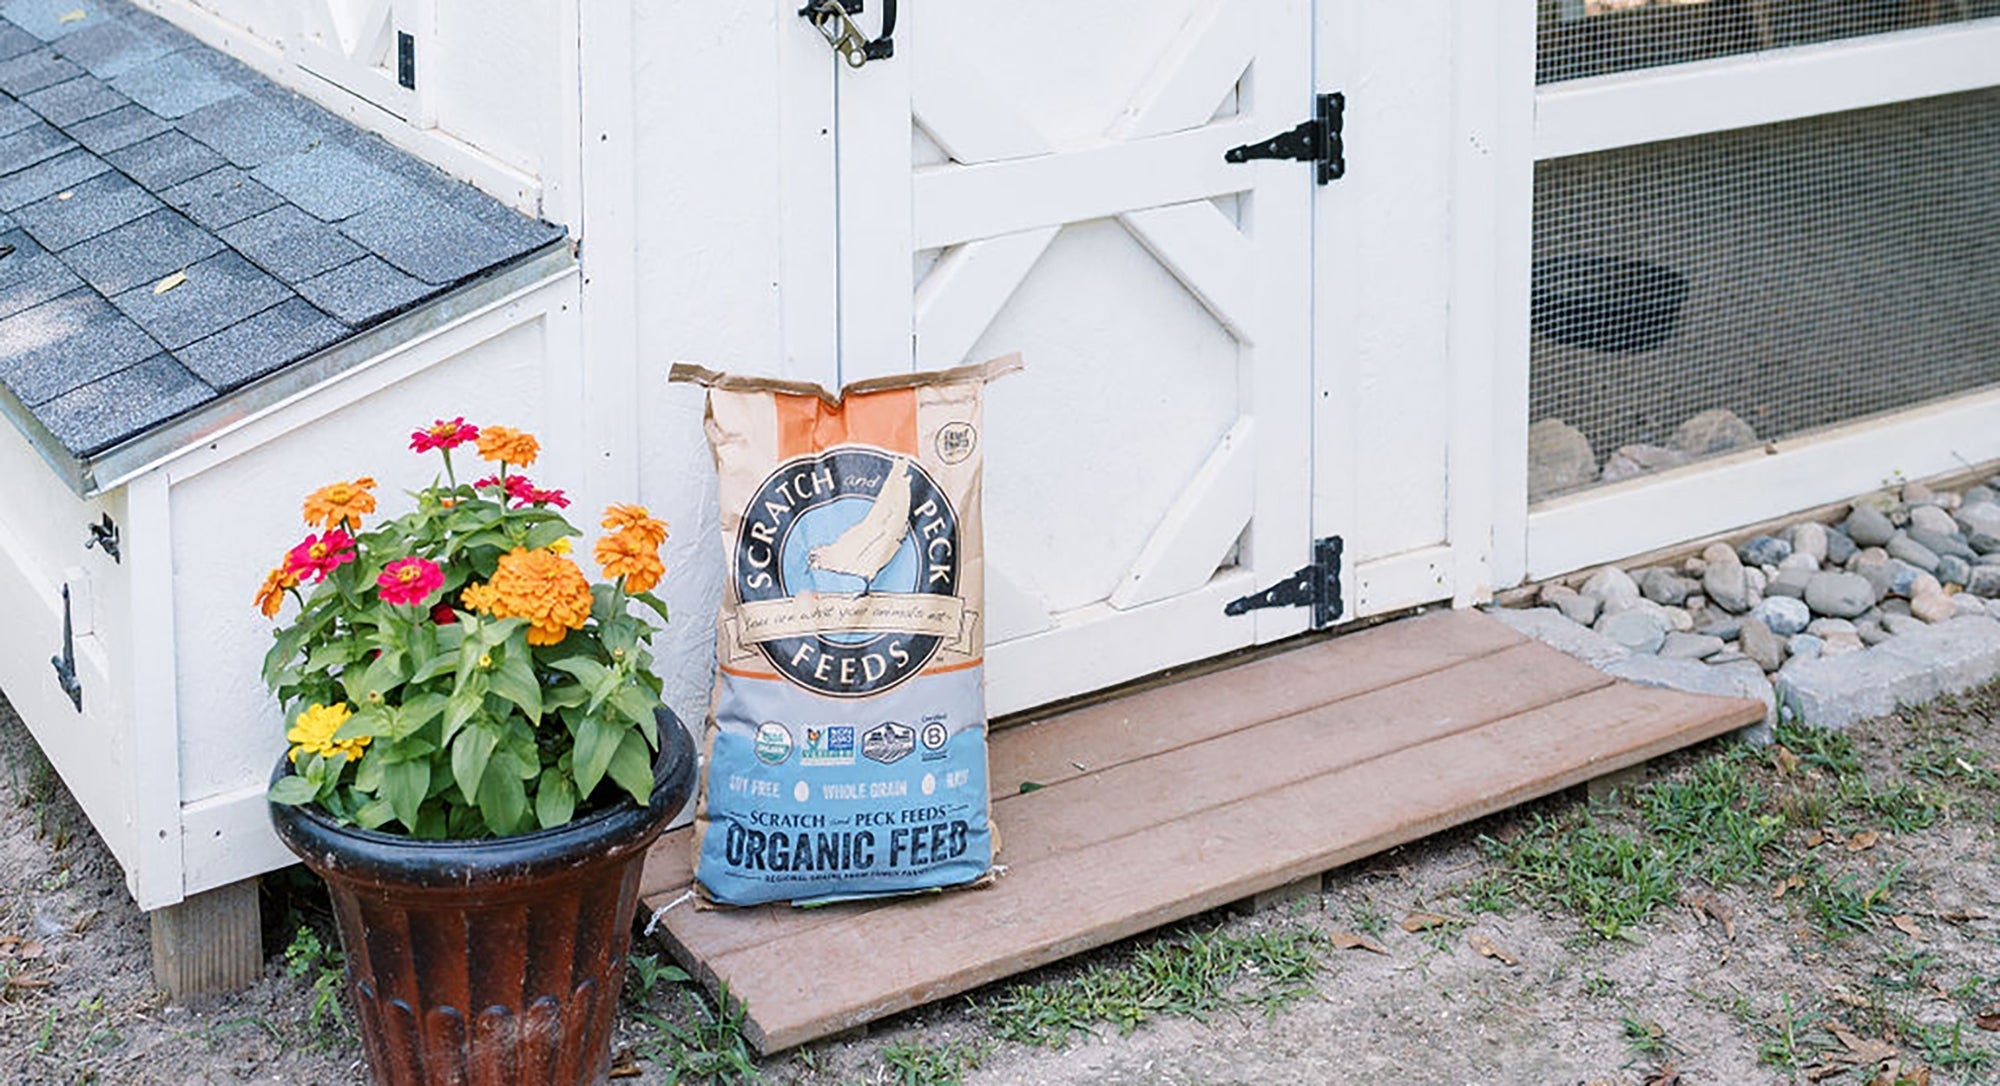
At Bee Jeweled Coop, we exclusively recommend Scratch & Peck Feeds for baby chicks and here's why:
Scratch & Peck Organic Starter Feed
- 100% USDA certified organic and non-GMO
- Perfect 20% protein content for healthy chick development
- No fillers, no by-products, and no synthetic additives
How to Feed Scratch & Peck:
- Offer free-choice 24/7 in a chick feeder
- Each chick will consume approximately 1-2 pounds weekly
- The unique whole grain texture encourages natural pecking behavior
- Sprinkle a small amount on a paper towel initially to help chicks recognize it as food
- Keep feed dry and fresh - replace if it becomes wet or soiled
Our Experience: We've tried numerous feeds over the years, but nothing compares to the health we see with Scratch & Peck for our entire flock.
Supplements and Treats
Sav-A-Chick Products:
- We highly recommend Sav-A-Chick electrolytes for the first week to reduce stress and support hydration
- Sav-A-Chick probiotic supplements help establish healthy gut flora and improve digestion
- Add Sav-A-Chick vitamins to water during times of stress or growth spurts

Grit:
- Introduce at 2-3 weeks of age if feeding anything besides starter feed
- Offer in a separate small dish
- Use chick-sized grit (smaller than adult chicken grit)
Safe Treats (after 3 weeks):
- Finely chopped leafy greens (spinach, lettuce)
- Grated carrots or zucchini
- Mashed hard-boiled egg (great protein boost)
- Scrambled egg (no salt or seasonings)
Treat Guidelines:
- Treats should comprise no more than 10% of diet
- Always introduce one new food at a time
- Finely chop or mash all treats
- Remove uneaten fresh treats after 1-2 hours
Health Monitoring & Common Issues
Daily Health Check Routine
Establish a daily observation routine:
- Count all chicks to ensure none are hiding or ill
- Watch for active eating and drinking
- Check for bright, clear eyes and clean vents
- Observe mobility and wing development
- Listen for abnormal respiratory sounds
- Note any unusual behavior or isolation
Common Chick Health Issues
Pasty Butt:
- Caused by stress, chilling, or improper nutrition
- Appears as dried droppings stuck to vent area
- Treatment: Gently moisten with warm water and remove dried material
- Prevention: Proper brooder temperature and adding probiotics to water
Spraddle Leg:
- Legs splay outward, making walking difficult
- Caused by slippery brooder surfaces or nutritional deficiencies
- Treatment: Create a "hobble" with soft yarn or bandage to hold legs in normal position
- Usually correctable if caught early
Respiratory Issues:
- Symptoms: Labored breathing, sneezing, nasal discharge
- Causes: Overcrowding, poor ventilation, dusty conditions
- Prevention: Clean brooder regularly, ensure good ventilation without drafts
- Seek veterinary help if symptoms persist
Pecking and Bullying:
- Watch for aggressive pecking or feather pulling
- Address by ensuring adequate space, proper nutrition, and multiple feeding stations
- Add visual barriers in brooder for chicks to hide behind
Socialization: Raising Friendly Chickens
The first weeks are crucial for developing friendly chickens:
- Handle chicks daily, starting with short sessions
- Speak softly around the brooder
- Offer treats from your palm to create positive associations
- Introduce new experiences gradually
- Allow supervised exploration outside the brooder after week 1
Managing Outdoor Brooder Setups
For those keeping their chicks in outdoor setups, like a barn or garage, monitoring temperatures is important. The internal temperature of the brooder should be kept around 95°F (35°C) for the first week of the chicks' lives, and reduced by approximately 5°F each week thereafter. External temperatures can impact your ability to maintain these conditions.
The goal is to create a stable, comfortable environment for your chicks that supports their health and well-being, regardless of what the weather outside is doing. Regular checks with this thermometer hygrometer can alert you to any necessary adjustments.

Introducing to an Existing Flock

Introducing chicks to an existing flock can be challenging. This integration cage offers a safe space for chicks within the run, allowing for gradual and safe introductions. Elevate the cage after a week to let chicks venture out with a secure retreat when needed.
- Wait until chicks are at least 8-10 weeks old
- Allow visual contact without physical access for 1-2 weeks
- Use a safe crate with hardware cloth (as shown)
- Monitor closely for bullying
- Provide multiple feeding and watering stations
- Create hiding spots and escape spaces for younger birds
Raising baby chicks is one of the most rewarding experiences in homesteading. With proper preparation and care during these crucial early weeks, you're setting the foundation for a healthy, productive flock that will provide eggs, entertainment, and joy for years to come.
Remember that each batch of chicks will be slightly different, and you'll learn more with each experience. Don't be afraid to adjust your approach based on your observations - the chicks will tell you what they need if you pay attention to their behavior.
We'd love to see your brooder setups and hear about your experiences! Share your chick-raising journey with us on Instagram or Facebook @BeeJeweledCoop.
Happy chicken keeping from all of us at Bee Jeweled Coop!


