
Article: How to Render Wax From Honeycomb
How to Render Wax From Honeycomb
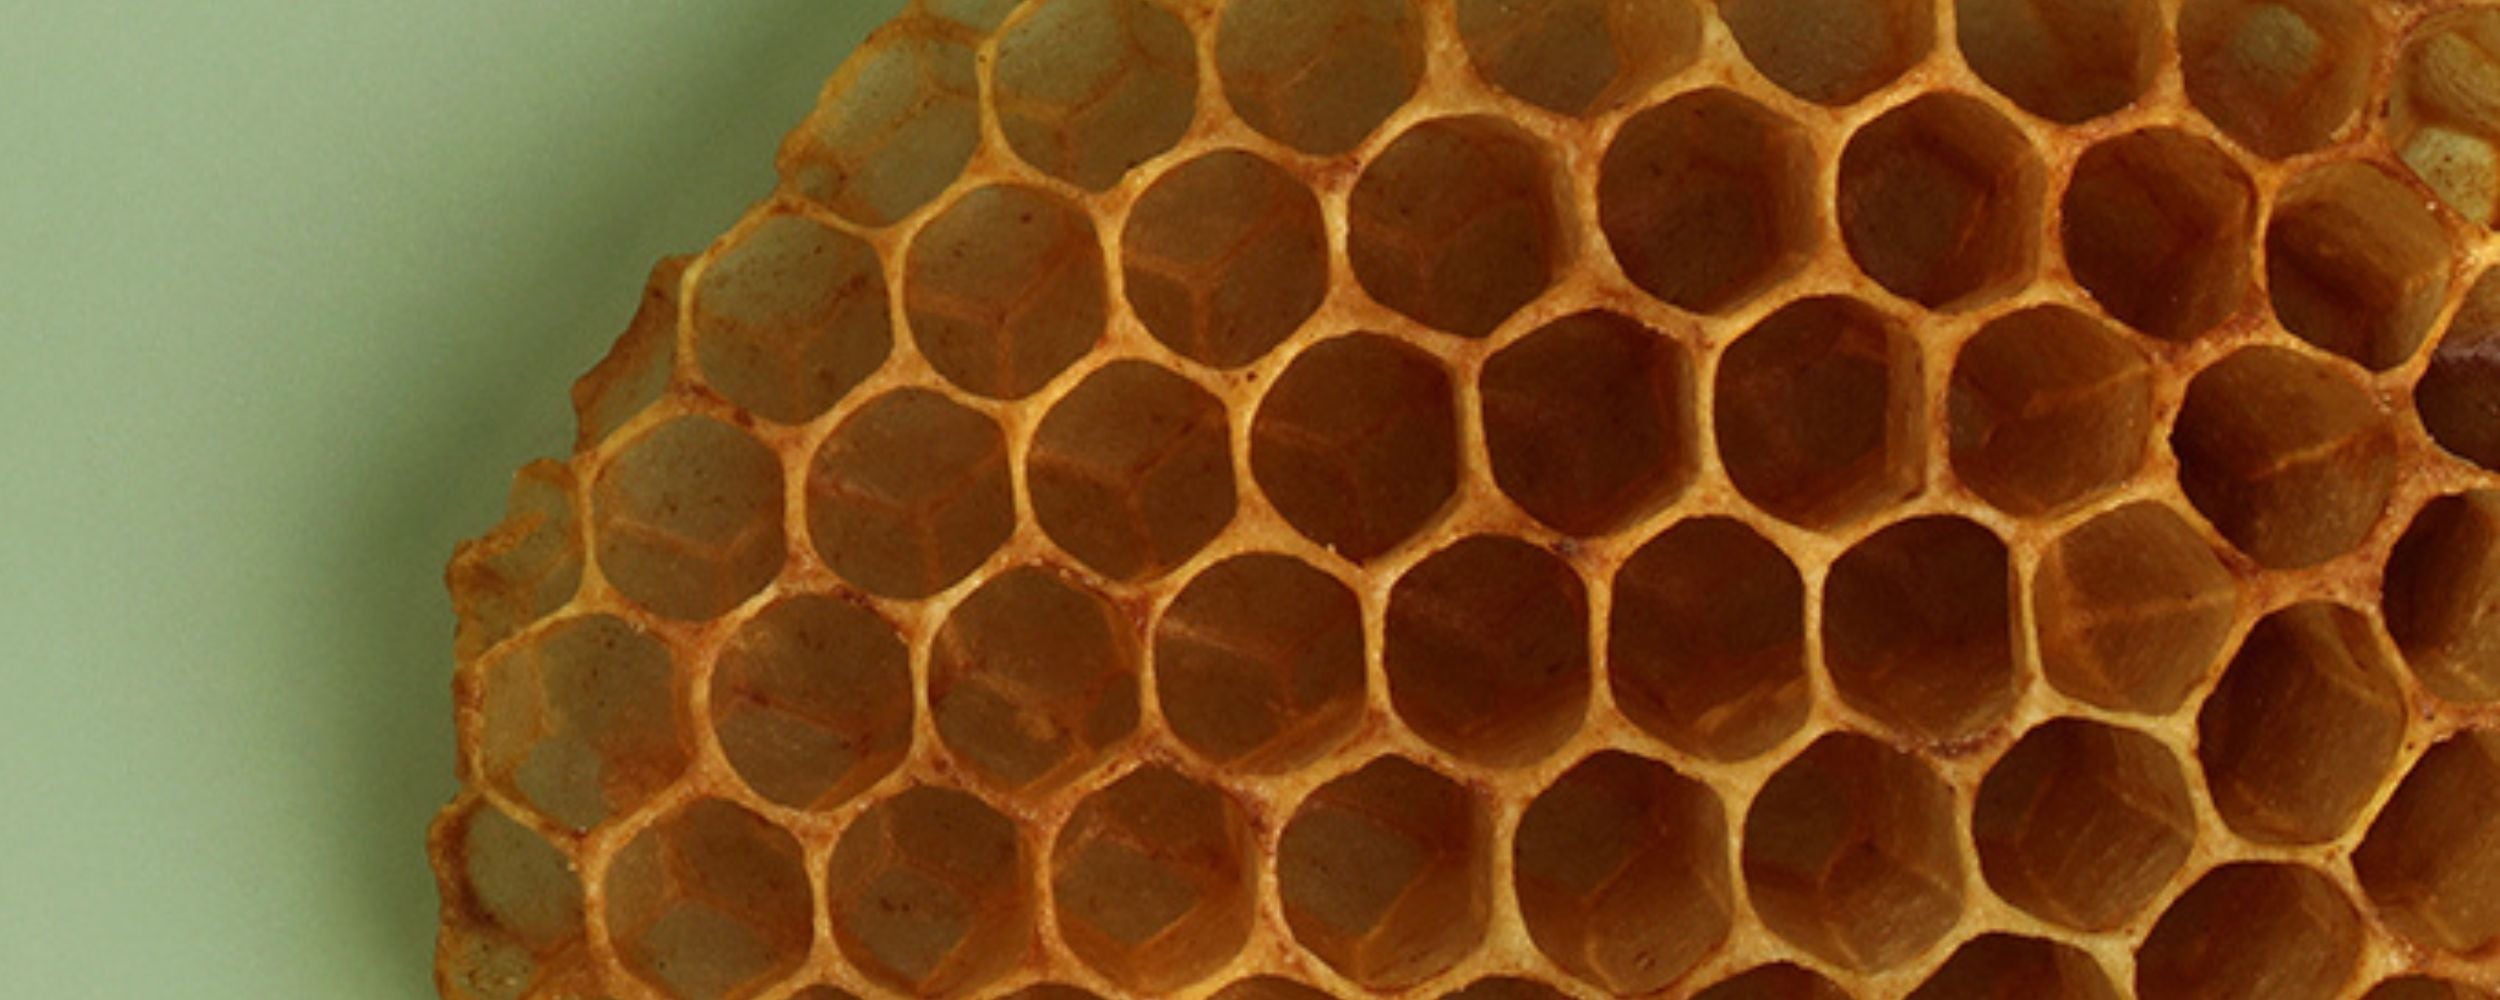
Beeswax is a versatile and natural material that has been used for various purposes for centuries, from candles and cosmetics to food and art. If you have access to a beehive, you can easily render your own beeswax and use it for your DIY projects. In this blog post, we will guide you through the process of rendering beeswax.
The first step is to obtain the beeswax from the hive. After the honey has been extracted from the comb, you can collect the remaining comb that contains wax. Make sure to remove any debris, such as dead bees, propolis, and honey. Cut the comb into small pieces and wrap them in a cheesecloth. Tie the cheesecloth tightly so that the wax does not escape.
Next, you will need to set up a double boiler. Fill a large pot with water and bring it to a boil. Place a smaller pot or heat-safe container inside the larger pot. This will allow the wax to melt without coming into direct contact with the heat source. It's important to use a dedicated pot for rendering wax, as it can be challenging to clean the wax off afterward.
Add the wrapped beeswax to the smaller pot and wait for it to melt. You should see the oily wax forming on top of the water. Once the wax has melted, use tongs to carefully remove the cheesecloth from the pot. Squeeze the cheesecloth to extract any remaining wax. Then pour the water and wax mixture into a plastic container and let it sit until the wax solidifies on top.
After the wax has solidified, you will need to filter it to remove any impurities. Fill the larger pot with water again and place an old canning lid in the bottom. Bring the water to a boil, and then place a glass jar filled with the melted wax inside the pot. Add a small amount of wax at a time until the jar is full. While the wax is melting, cut a piece of nylon and attach it to the top of a clean jar. Once the wax has completely melted, pour it into the nylon filter. The filter will catch any impurities or debris, leaving you with clean wax.
If you are making candles, you can add fragrance or dried flowers to the wax before pouring it into the mold. In this case, the blogger added dried rose petals to the wax, but found that it caused the candle to burn unevenly. If you are using beeswax for the first time, it's a good idea to experiment with small amounts to determine the right ratio of ingredients.
Rendering beeswax is a simple and satisfying process that allows you to create your own natural and sustainable materials. Whether you're making candles, lip balms, or art projects, beeswax is a versatile and eco-friendly option that you can feel good about using.
If you're interested in extracting beeswax yourself, here is a simplified step-by-step guide:
1. Collect beeswax from the comb after the honey has been extracted. Remove any debris, such as dead bees, propolis, and honey.

2. Cut the beeswax into small pieces and wrap it tightly in cheesecloth.

3. Fill an old large pot with water and bring it to a boil. You'll want one dedicated to rendering wax because the pot will not be easy to clean.

4. Place the wrapped bee comb into the pot and boil it for several minutes. You will start to see the wax float to the surface.

5. Once the wax has melted, remove the cheesecloth from the pot and squeeze it to extract any remaining wax. Then, pour the water and wax mixture into a plastic container and let it sit until the wax solidifies on top.

6. Filter the wax to remove any impurities by filling a larger pot with water and placing an old canning lid in the bottom. Bring the water to a boil and place a glass jar filled with the melted wax inside the pot. Add a small amount of wax at a time until the jar is full.

7. When the wax has melted, pour the melted wax through a nylon filter attached to the top of a clean jar.


8. If desired, repeat steps 7 & 8 with the newly filtered wax to remove any remaining impurities.
